How to Prepare Your Auckland Home for a Synthetic Turf Installation
Understanding the Benefits of Synthetic Turf
Before diving into the preparation process, it's essential to understand why homeowners in Auckland are opting for synthetic turf. Not only does it provide a lush, green look year-round, but it also reduces maintenance time and water usage significantly. This durable and eco-friendly option is perfect for those wanting a consistently beautiful outdoor space.
Clearing the Area
The first step in preparing your Auckland home for synthetic turf installation is clearing the designated area. Start by removing any existing grass, weeds, or debris. Ensure the space is free from rocks, sticks, and other obstacles that could interfere with the installation process. Using a sod cutter can make this task easier and more efficient.
Planning for Drainage
Proper drainage is crucial when installing synthetic turf to prevent water pooling. Assess the natural slope of your yard and decide whether any adjustments are necessary. You might need to install a drainage system, such as perforated pipes or a gravel base, to ensure efficient water flow.
Installing a Base Layer
Creating a stable base layer is a critical step in laying synthetic turf. Typically, this involves spreading a layer of crushed rock or gravel across the area. This layer should be compacted carefully to provide a solid foundation for the turf. Aim for a base thickness of about 50-100mm to ensure durability and stability.

Leveling the Surface
Once the base layer is in place, it's time to level the surface. Use a landscaping rake to spread the material evenly, filling in any dips or low spots. This step ensures that the synthetic turf will lay flat and maintain an even appearance across the entire area.
Compacting the Base
After leveling, compact the base using a plate compactor or a hand tamper. This process helps eliminate air pockets and creates a firm foundation for the turf. Compaction ensures that the surface underneath is solid and won't shift over time.
Applying a Weed Barrier
To prevent weed growth under your synthetic turf, consider laying down a weed barrier or geotextile fabric. This layer acts as an additional protective measure against weeds while still allowing water to drain through efficiently. Secure it with landscape staples or pegs to keep it in place.

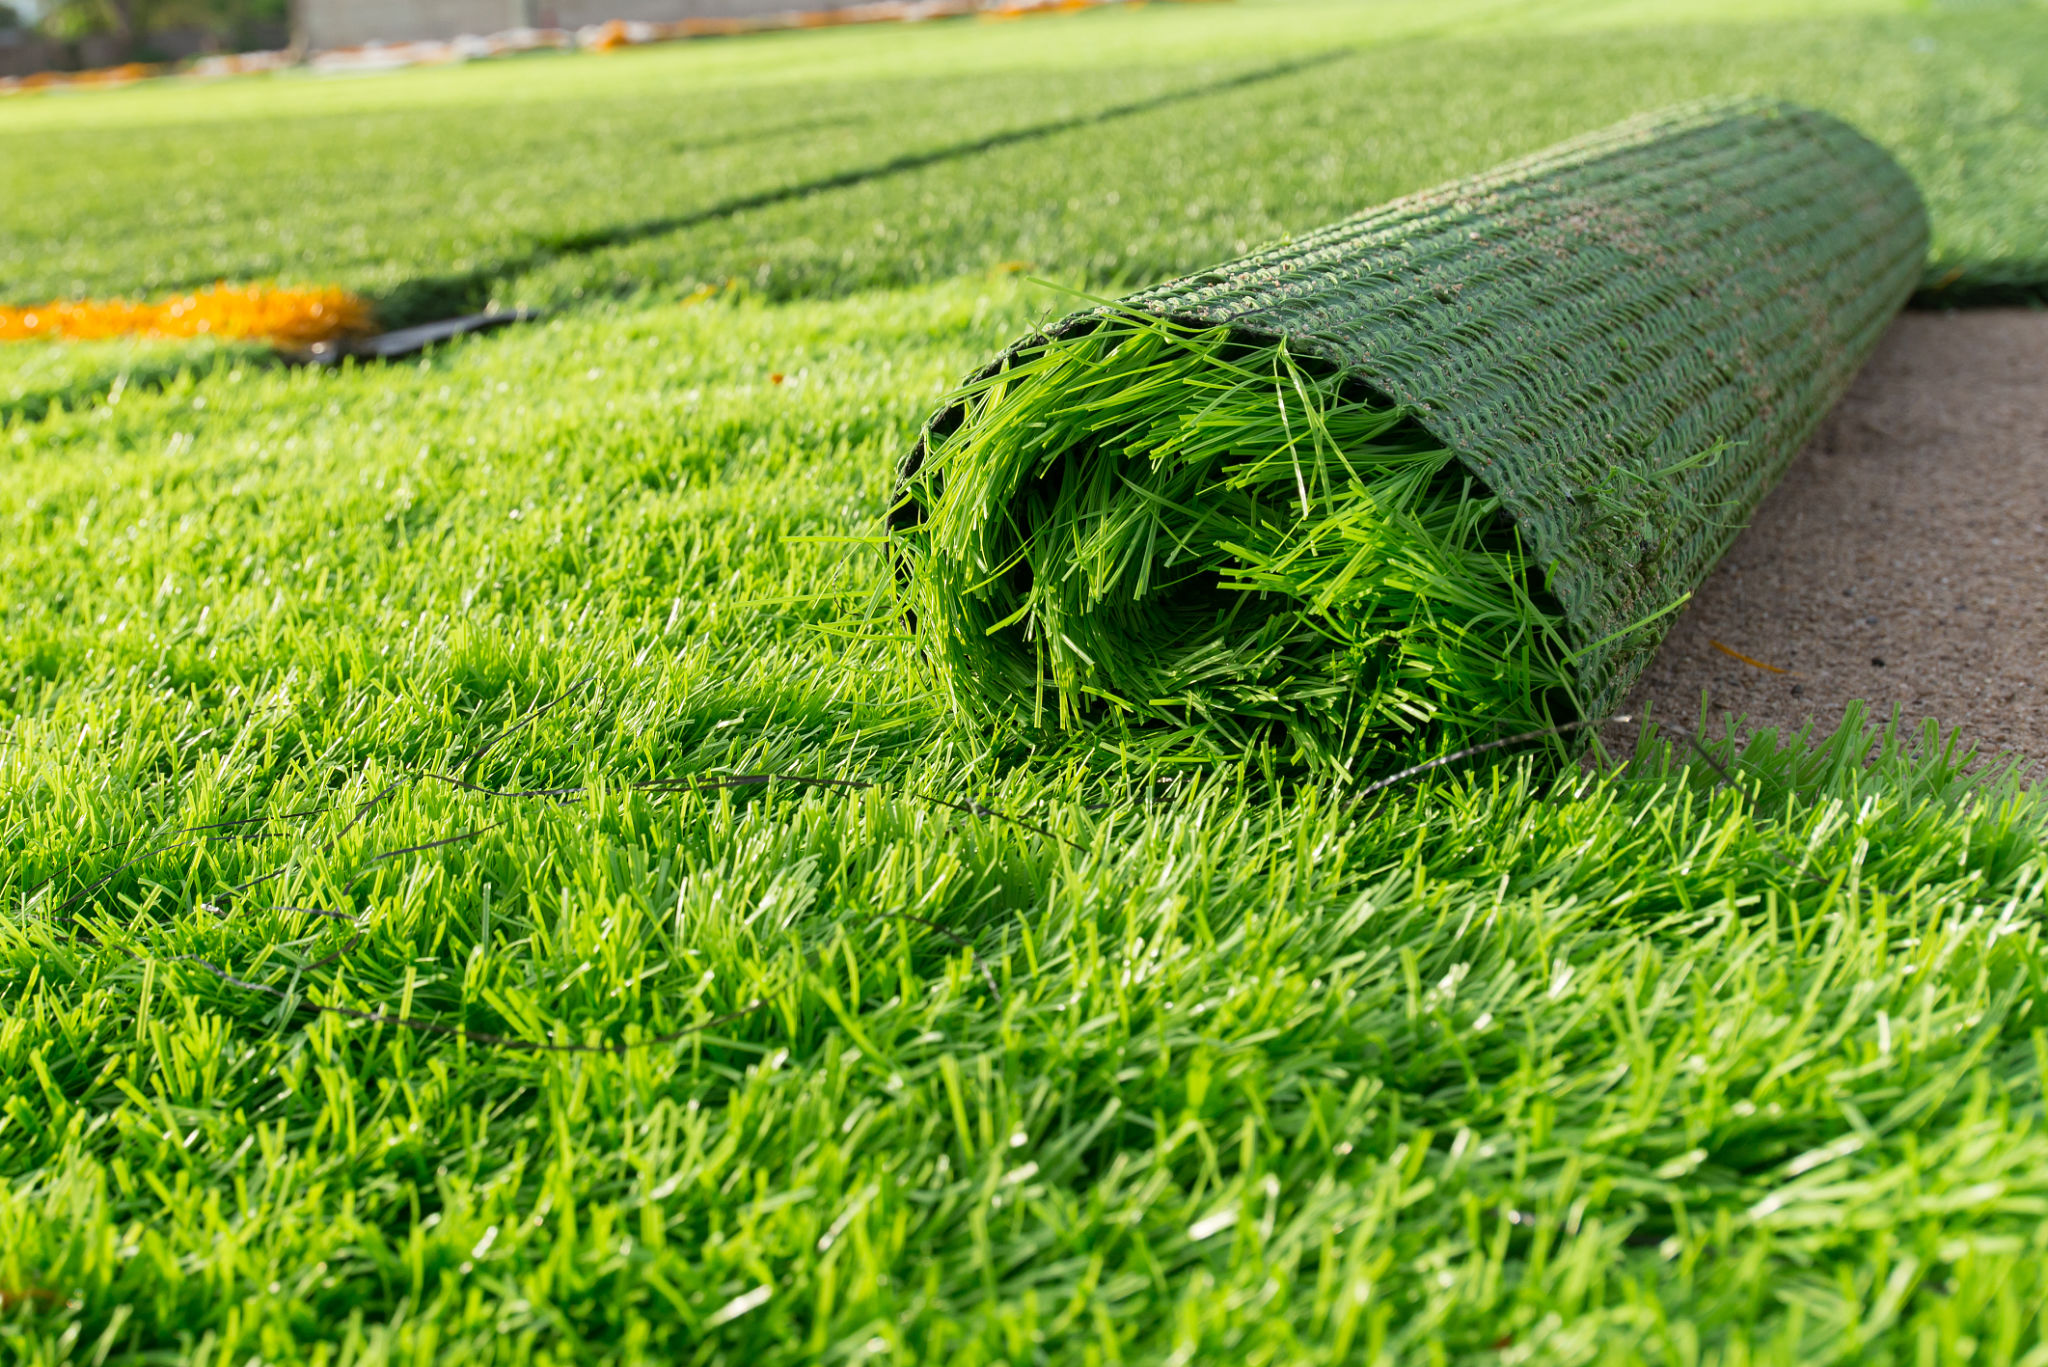
Preparing for Installation
With the groundwork laid, you're ready for the actual turf installation. Measure your space carefully and cut the turf to fit precisely. Make sure all seams line up correctly for a seamless look. Roll out the turf and allow it to acclimate for a few hours before securing it into place.
Finally, secure the edges with landscape nails or staples, ensuring everything remains tightly in place. Brush the fibers with a stiff broom to lift them upright, creating a natural appearance.
By following these steps, you can ensure your Auckland home's synthetic turf installation is smooth and successful, providing you with years of enjoyment in your new low-maintenance outdoor space.