DIY Synthetic Turf Installation: Tips and Tricks for Auckland Homeowners
Understanding the Benefits of Synthetic Turf
For many Auckland homeowners, maintaining a lush, green lawn year-round can be a challenging task. Synthetic turf offers an excellent alternative, providing a vibrant and durable landscape with minimal upkeep. The benefits include reduced water usage, no need for harmful pesticides or fertilizers, and a consistently attractive appearance.
Planning Your Installation
Before diving into the installation process, it's crucial to plan effectively. Start by measuring the area where you intend to lay the synthetic turf. Accurate measurements will help you purchase the correct amount of turf and other necessary materials. Make a note of any obstacles or features like trees and pathways that might affect the installation process.
Consider the drainage needs of your space. Proper drainage is essential to prevent water from pooling on your synthetic turf and causing damage. If necessary, you may need to install a drainage system before laying the turf.
Preparing the Ground
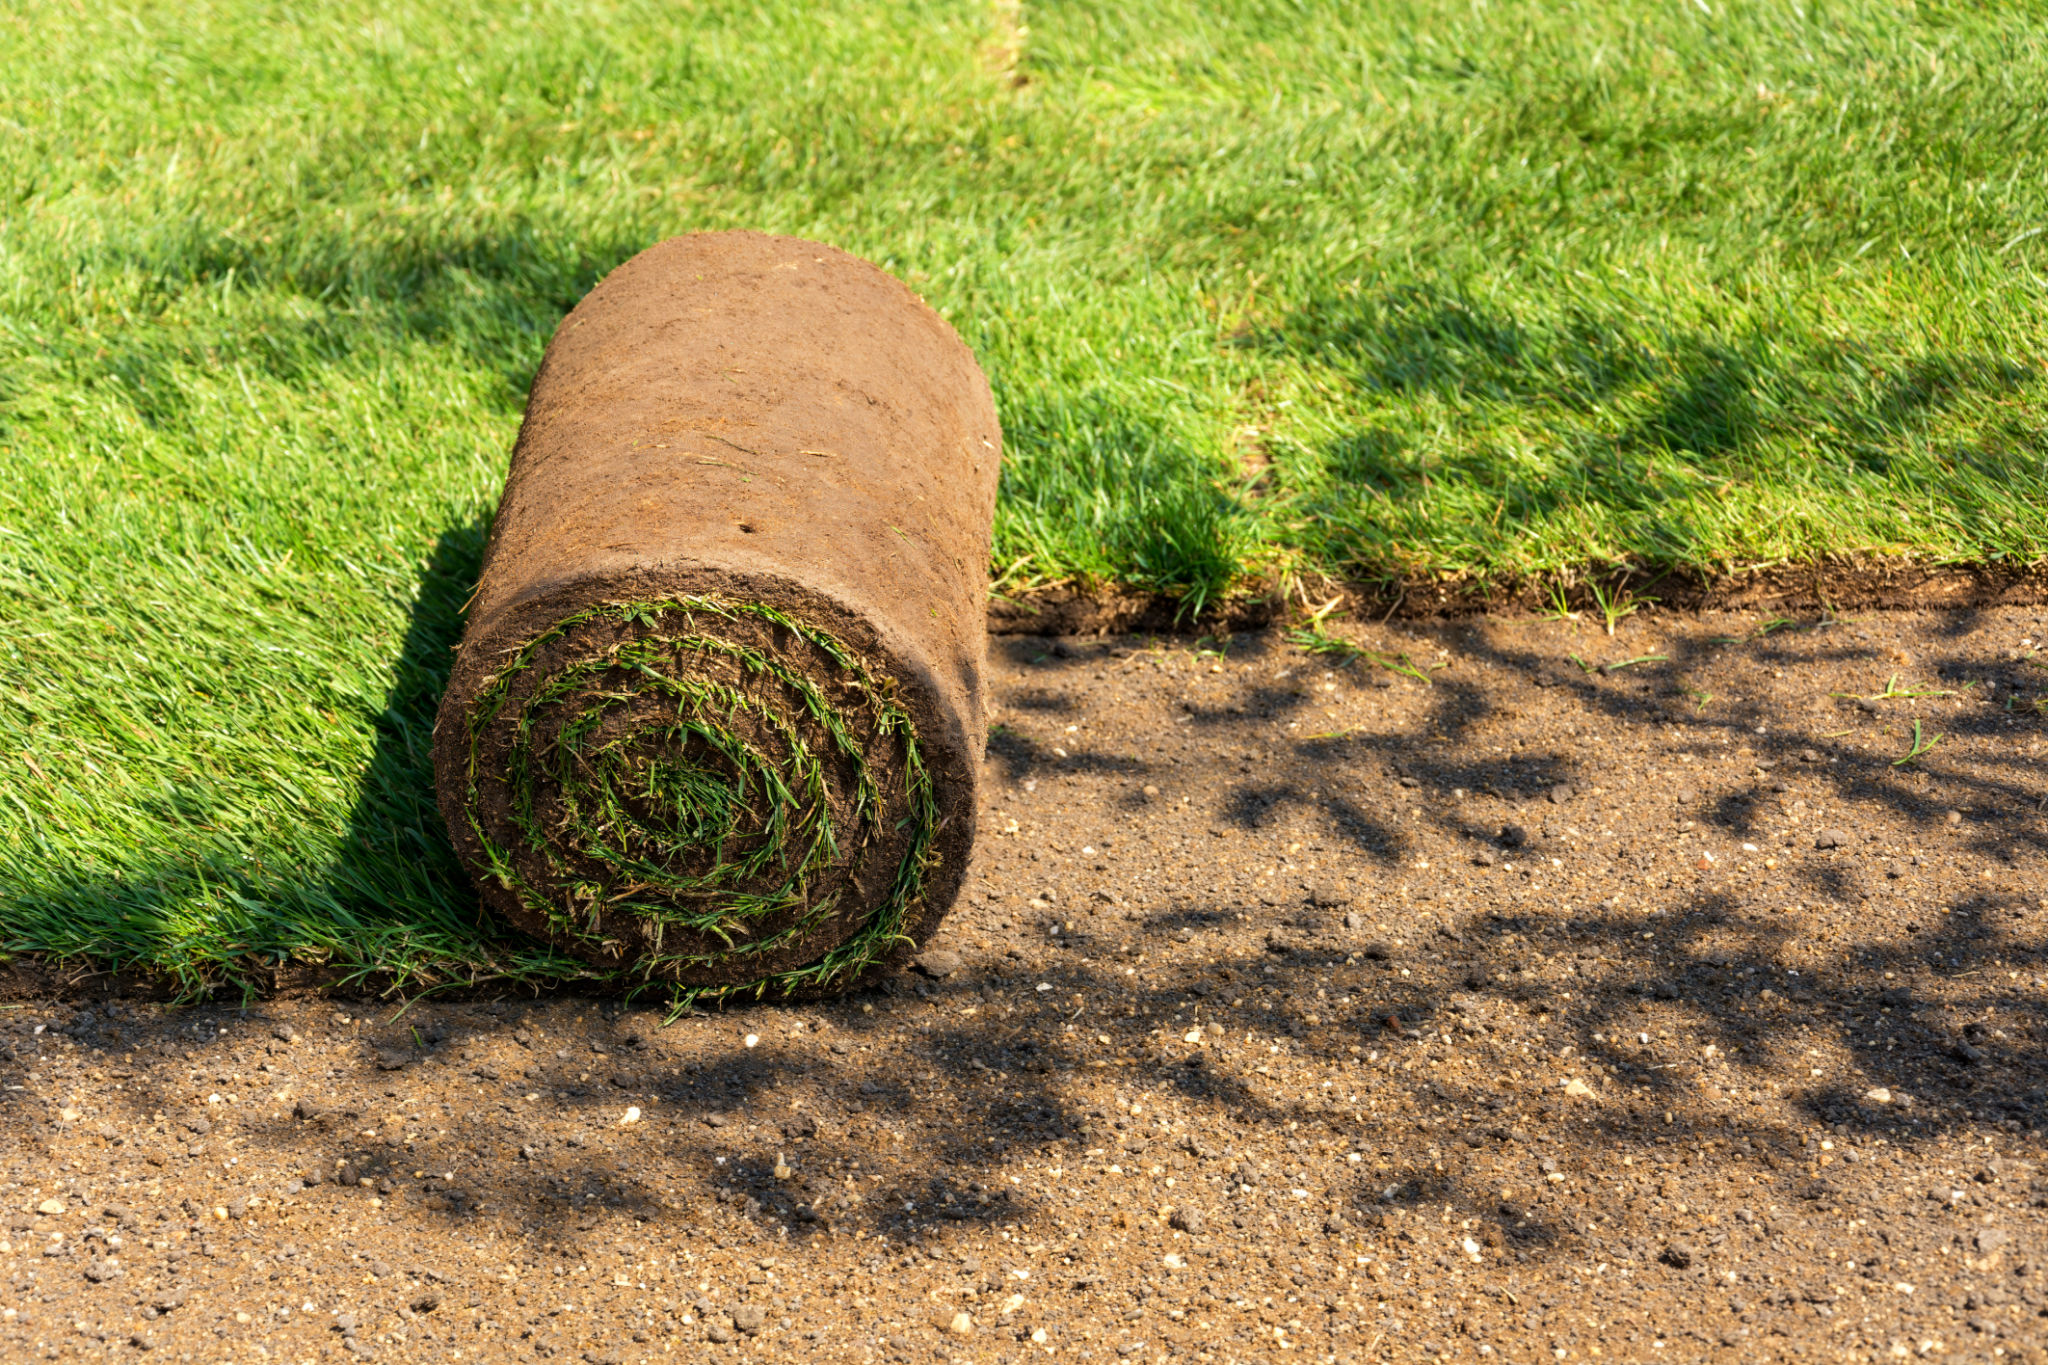
A successful DIY synthetic turf installation begins with preparing the ground. Remove any existing grass, weeds, or debris from the area. It's important to have a clean surface to work with, as this will ensure your turf lays flat and looks natural.

After clearing the area, compact the soil to create a stable base. You can use a plate compactor for larger areas or manually compact smaller spaces with a hand tamper. Finally, add a layer of crushed rock or gravel to improve drainage and further stabilize the surface.
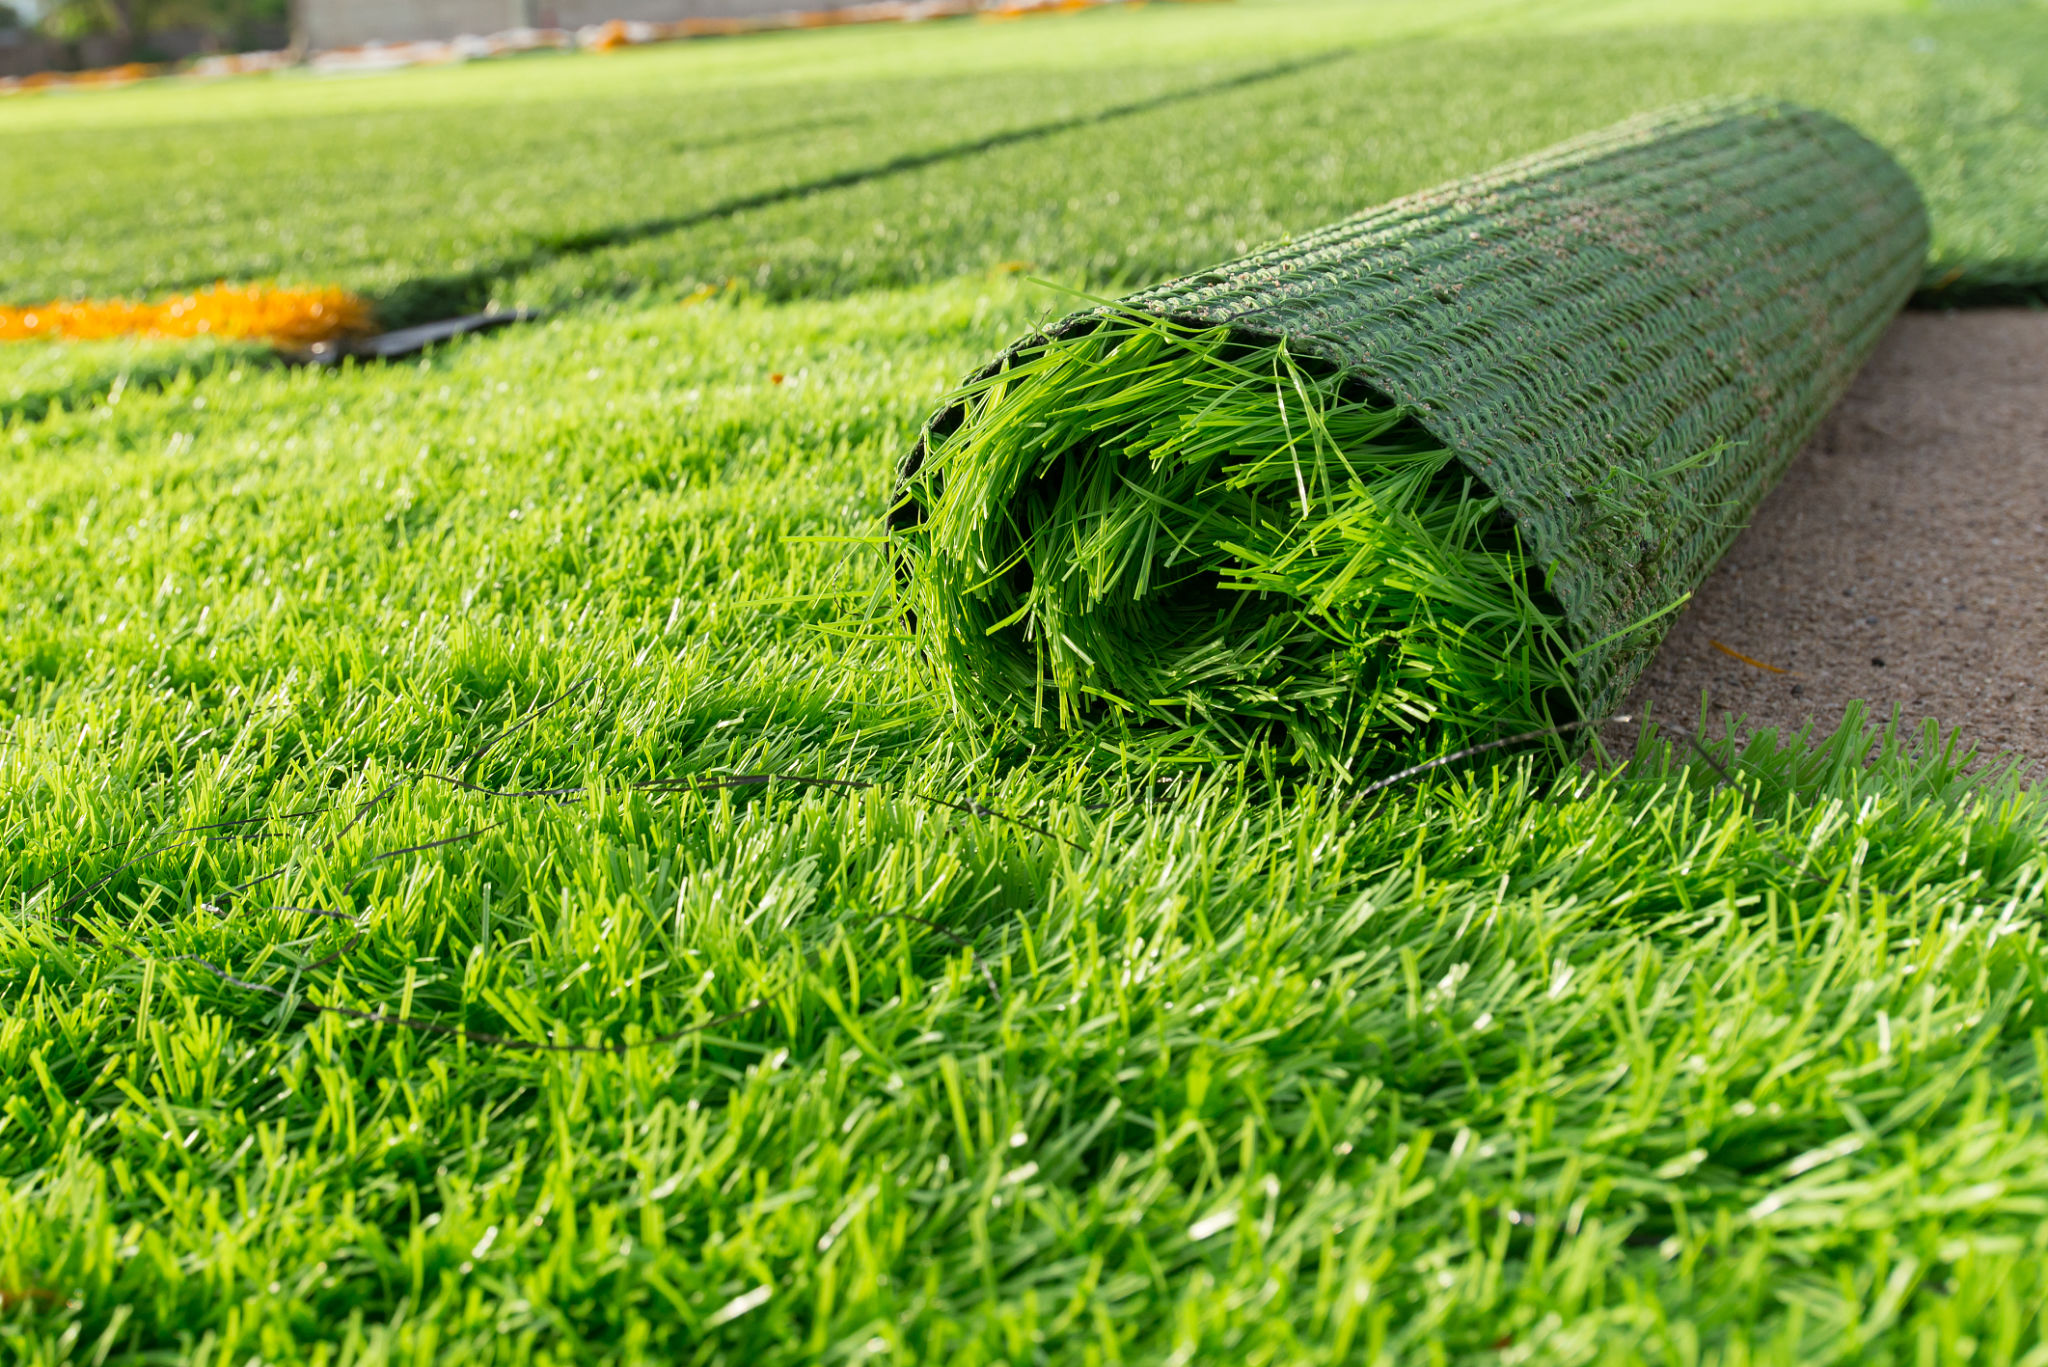
Installing the Synthetic Turf
With your base prepared, you are ready to lay down the synthetic turf. Roll out the turf and allow it to acclimate for a few hours before cutting it to fit your space. When cutting, ensure you follow the grain of the grass fibers for a seamless appearance.
Smooth out any wrinkles or bubbles in the turf, ensuring it sits flat on the ground. Use adhesive or nails to secure the edges and seams, making sure everything is tightly fastened and aligned.
Adding Finishing Touches
Once your synthetic turf is installed, it's time for the finishing touches. Add infill material to help the blades stand upright and provide cushioning underfoot. Common infill materials include silica sand or rubber granules, which should be evenly distributed across the entire surface.
Finally, brush the turf with a stiff bristle broom to keep it looking fresh and natural. Regular maintenance will involve occasional cleaning and brushing to remove debris and keep your lawn looking its best.
Enjoying Your Low-Maintenance Lawn
Your new synthetic lawn is now ready for use! Enjoy the benefits of a low-maintenance landscape that remains green and lush throughout the year. Whether hosting outdoor gatherings or simply relaxing in your backyard, your synthetic turf will provide a beautiful and durable setting.

By following these tips and tricks, Auckland homeowners can achieve professional-looking results with their DIY synthetic turf installation. Embrace this eco-friendly option for a stunning outdoor space that requires minimal effort to maintain.