DIY Installation Tips for Synthetic Turf: A Step-by-Step Guide
Preparing for Your DIY Synthetic Turf Installation
Installing synthetic turf can be a rewarding DIY project that enhances your outdoor space with minimal maintenance. Before you begin, it's crucial to prepare your site for the best results. Start by measuring the area where you plan to install the turf to ensure you purchase the correct amount. Remember to add an extra 10% of material for cutting and fitting purposes.
Next, clear the area of any existing grass, debris, or rocks. Use a sod cutter or a shovel to remove the top layer of soil, ensuring a smooth surface. It's important to create a solid foundation, so consider renting a plate compactor to level the ground.
Installing the Base Layer
The base layer is critical for achieving a durable and even surface. Spread a layer of crushed stone or gravel about 3 to 4 inches deep. This base promotes drainage and stabilizes the turf. Use the plate compactor again to pack down the base material thoroughly.
Once compacted, lay down a weed barrier fabric over the entire area. This will help prevent weeds from growing through your synthetic turf and maintain its pristine appearance over time.
Laying Out the Synthetic Turf
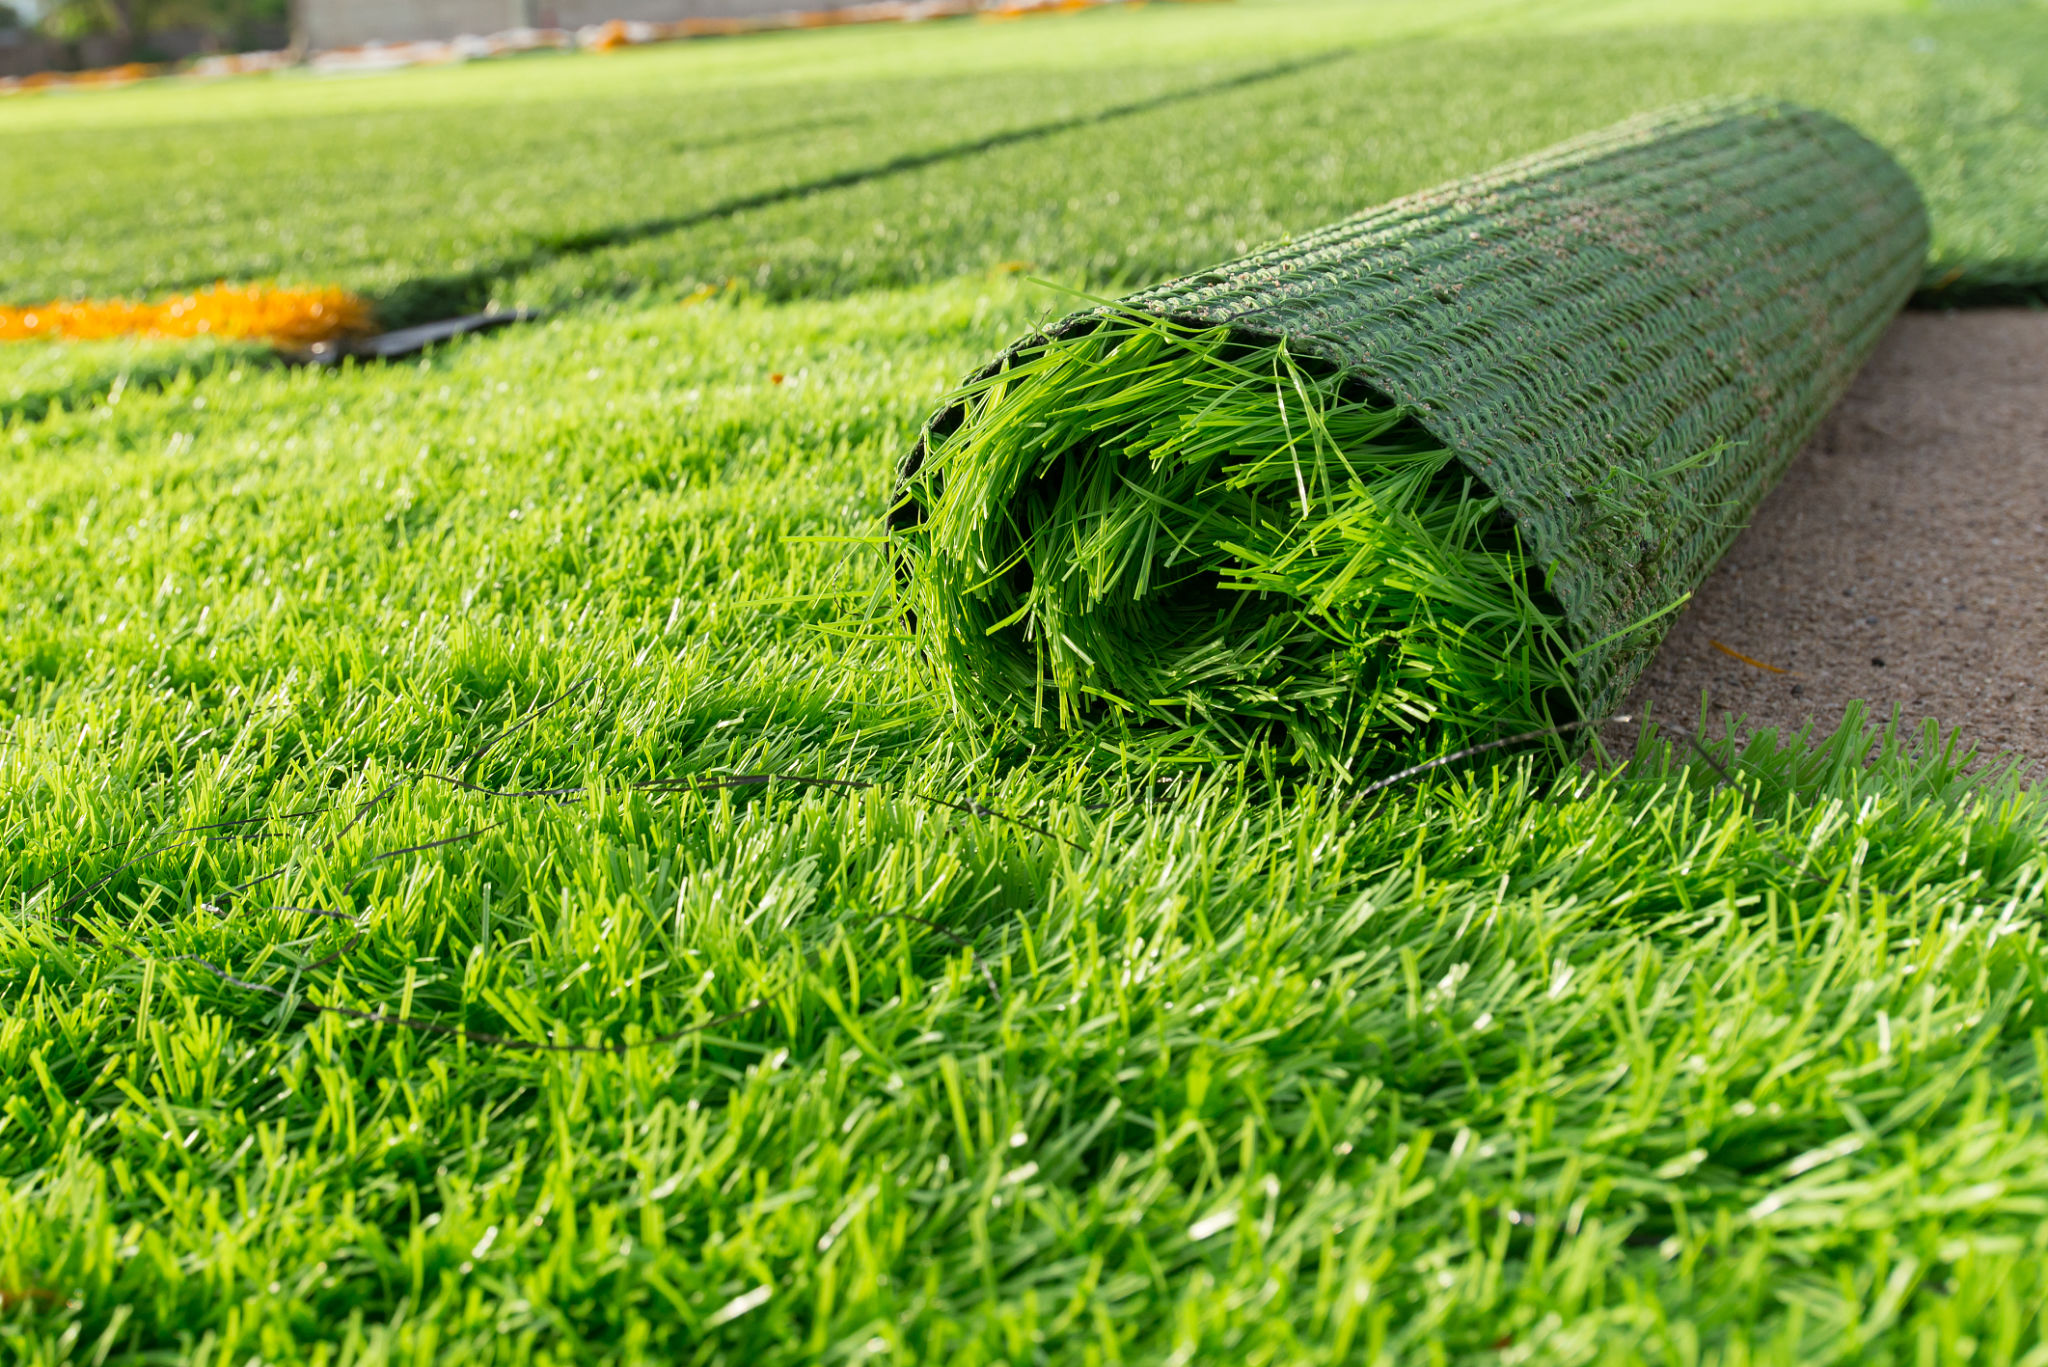
Carefully roll out your synthetic turf over the prepared base. Allow it to sit in the sun for a few hours to relax and remove any wrinkles. When positioning multiple sections, ensure the grain of the turf fibers is facing the same direction for a seamless look.
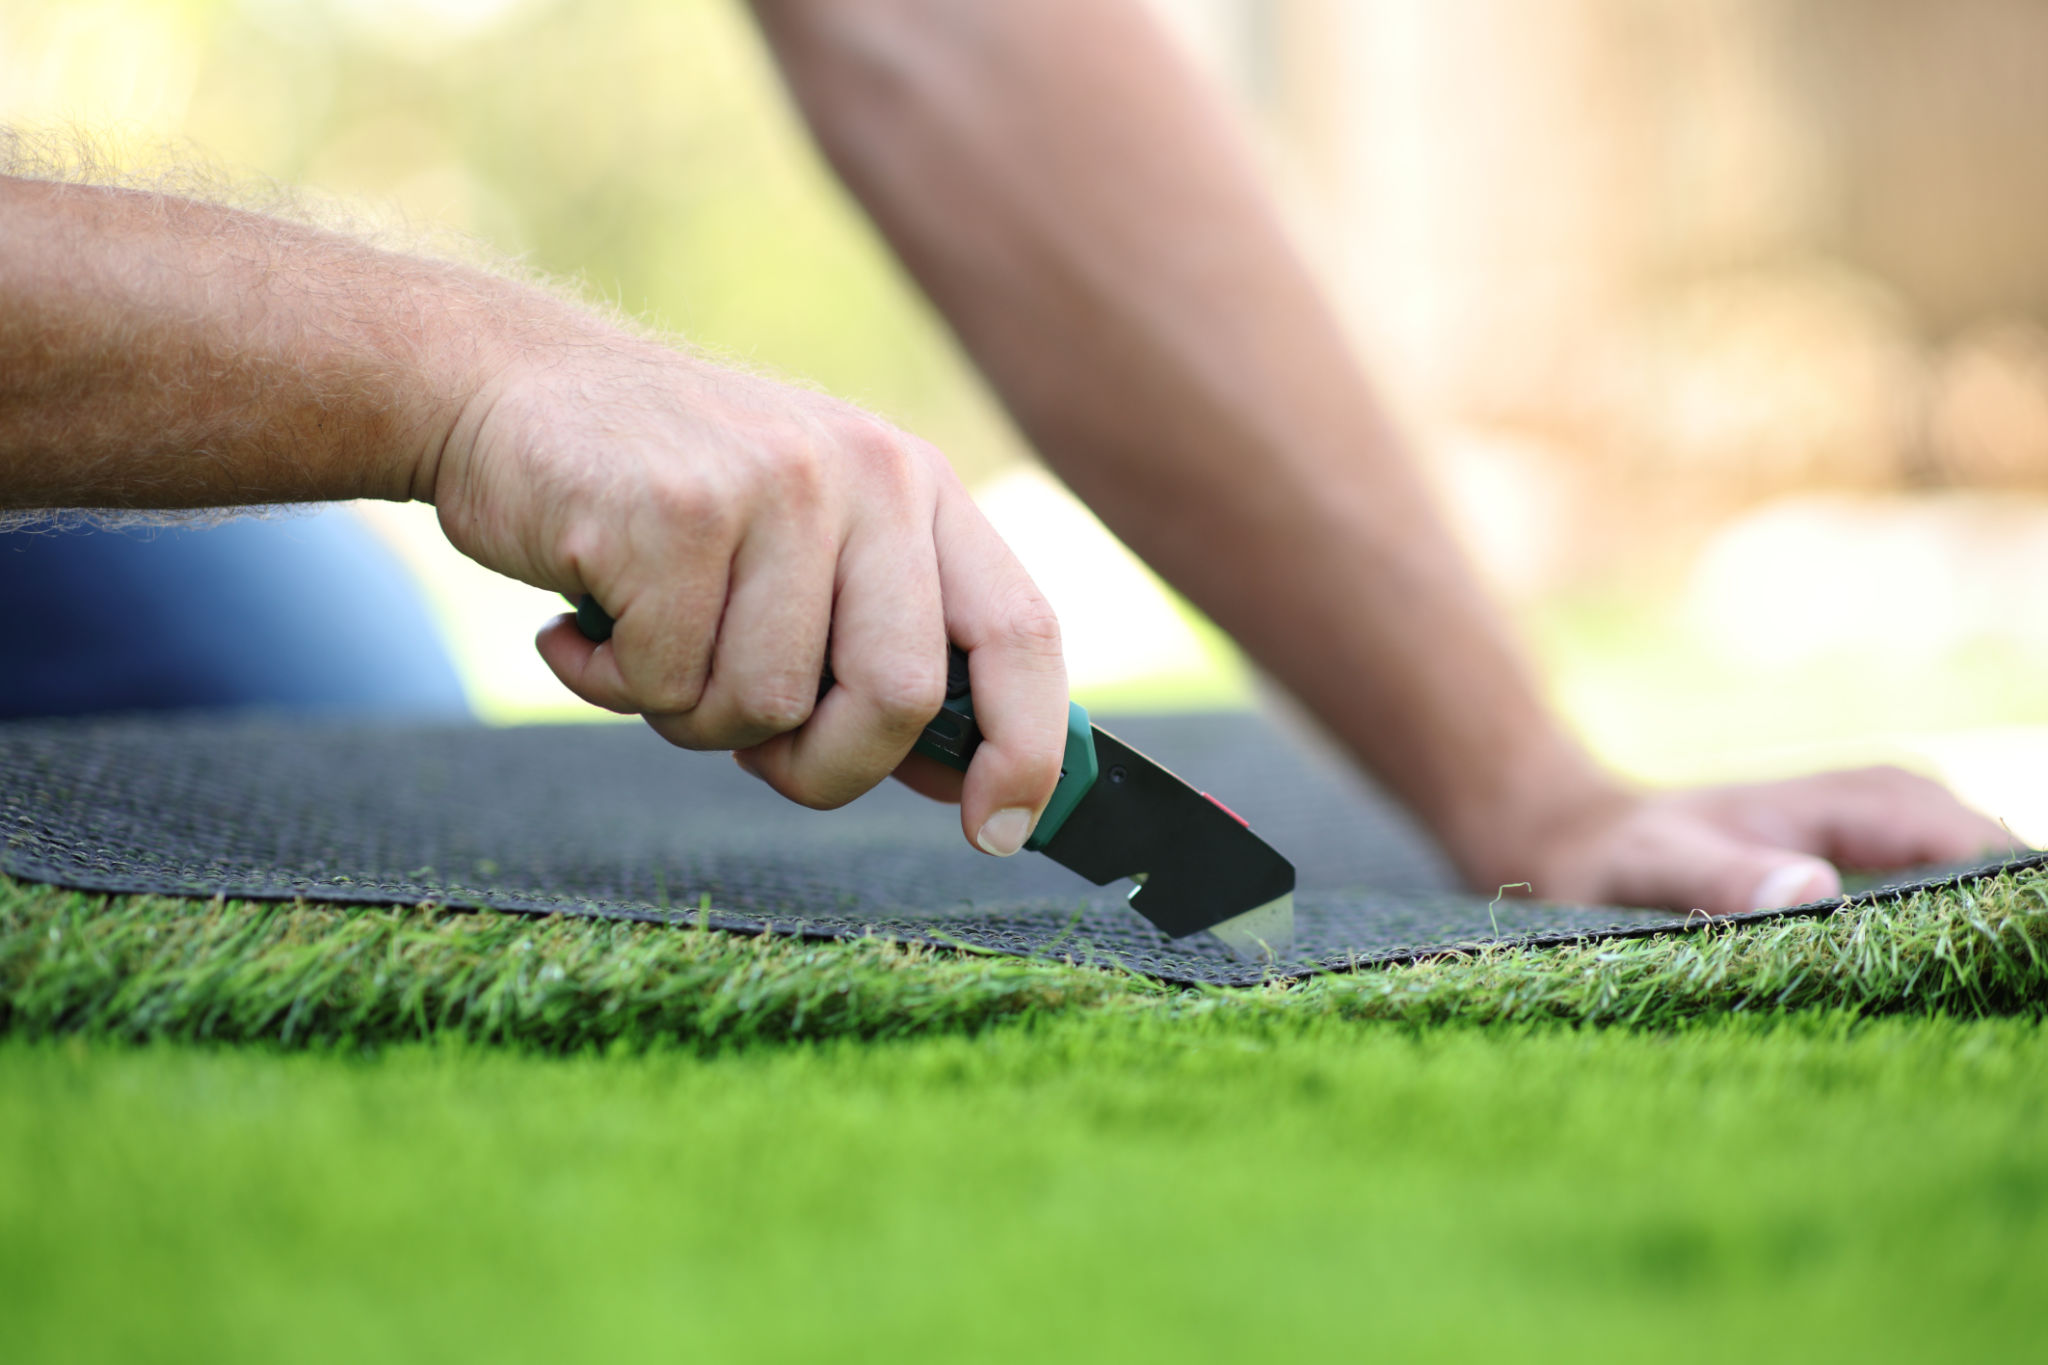
Use a sharp utility knife to trim excess turf along the edges. For areas requiring seams, overlap the sections slightly and cut through both layers for a precise fit. Use seam tape and adhesive to secure the sections together.
Securing the Turf
After laying out your turf, it's time to secure it in place. Use landscape spikes or staples around the perimeter of the area, spacing them about 6 to 8 inches apart. This will keep your turf from shifting and ensure a snug fit.
If your turf installation includes any curves or irregular shapes, make small relief cuts along the edges to help it lay flat and conform to the contours of your landscape.
Adding Infill
Infill is an essential component that helps keep your synthetic turf looking natural while also providing cushioning. Use a drop spreader to evenly distribute infill across the surface. A common choice is silica sand or rubber granules.
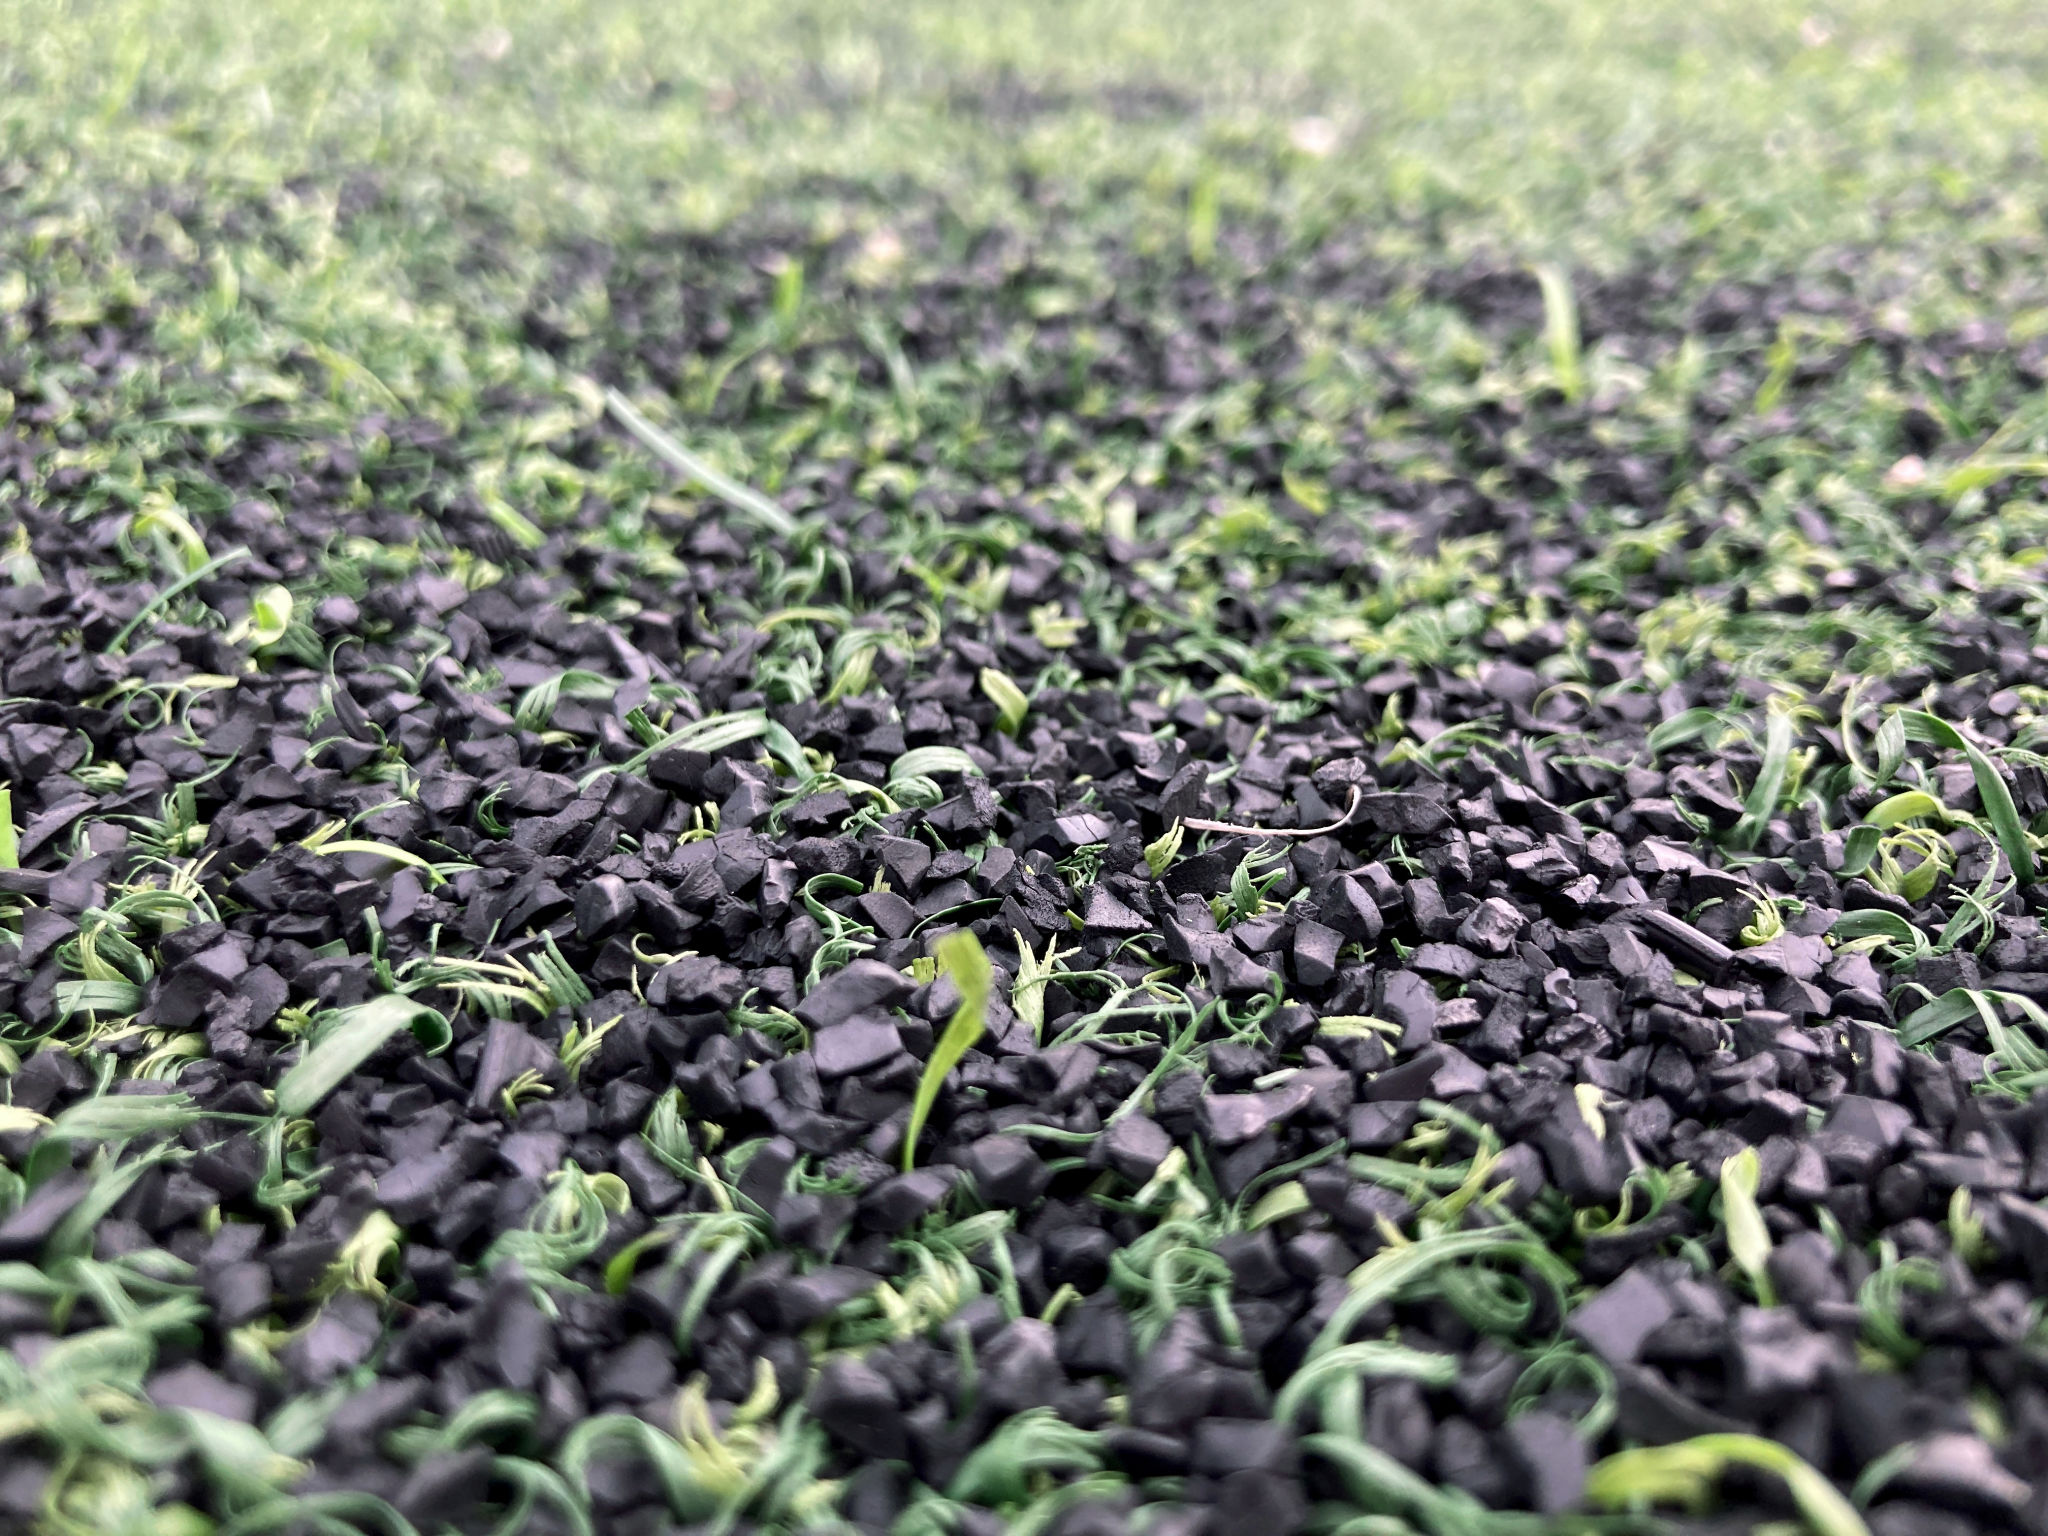
After spreading the infill, use a stiff-bristled broom or power broom to brush it into the fibers and stand them upright. This step ensures even distribution and enhances the appearance of your new lawn.
Final Touches
With your turf securely in place and infill properly distributed, take time to inspect your work. Check for any visible seams or loose edges and make necessary adjustments. Regular maintenance like brushing and rinsing will keep your synthetic turf looking fresh and vibrant.
By following these DIY installation tips, you'll enjoy a beautiful, low-maintenance lawn that enhances your outdoor space for years to come. Happy landscaping!