DIY Installation Tips for Artificial Grass in Auckland
Why Choose Artificial Grass?
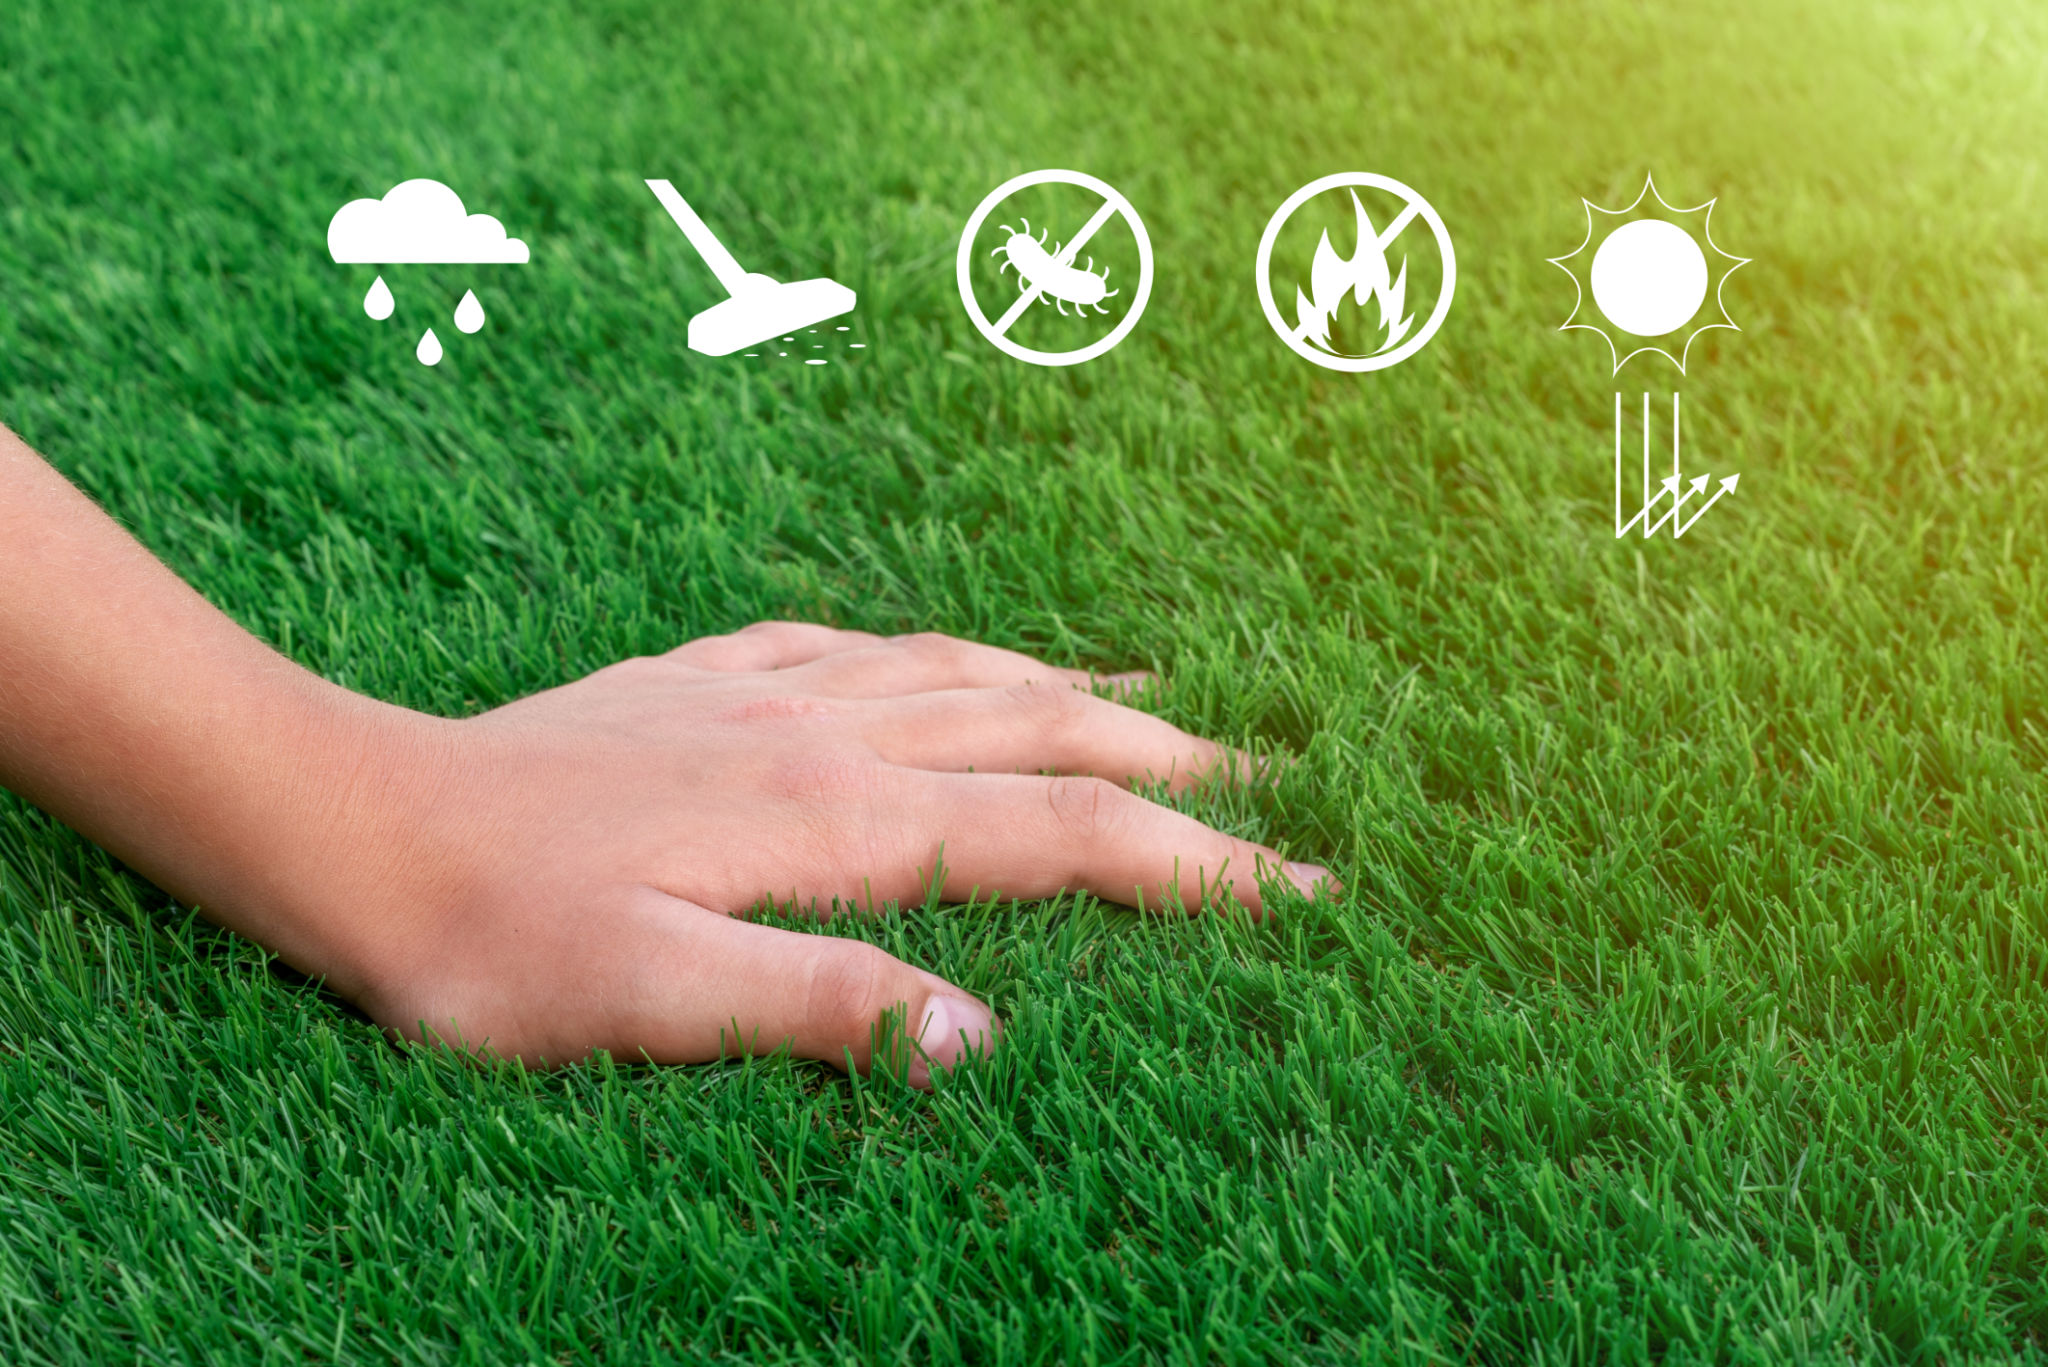
Artificial grass has become a popular choice for homeowners in Auckland due to its low maintenance and evergreen appearance. Unlike natural grass, it doesn't require regular mowing, watering, or fertilizing, making it an environmentally friendly option. Whether you're looking to revamp your backyard or create a pet-friendly zone, installing artificial grass can be a perfect solution.
Apart from its aesthetic appeal, artificial grass is highly durable and can withstand Auckland's varied weather conditions. This makes it an ideal choice for both residential and commercial properties. It offers a lush, green look all year round without the hassle of upkeep.
Preparing the Ground
The first step in installing artificial grass is to prepare the ground. Proper preparation ensures that your grass lays flat and remains in place for years. Start by removing any existing grass, weeds, and debris from the area. You may need to use a sod cutter for larger areas to make this task easier.
Once the area is cleared, level the ground by filling in any low spots with crushed rock or sand. This will provide a firm base for your artificial grass. It's important to compact the ground thoroughly to prevent any future settling. Use a plate compactor to achieve a solid foundation.
Installing a Weed Barrier
To keep weeds from growing through your artificial grass, lay down a weed barrier fabric over the prepared ground. This step is crucial for maintaining the pristine look of your grass. Ensure the fabric overlaps at the seams to prevent any gaps where weeds could penetrate.

Laying the Artificial Grass
Roll out the artificial grass over the prepared area, ensuring the blades are all facing the same direction for a natural look. Cut the edges with a utility knife to fit around curves and obstacles. Make sure there are no gaps or overlaps between sections of grass.
Secure the edges using landscaping nails or staples, placing them every 15-20 cm along the perimeter. For larger installations, you may need to join sections of grass using seam tape and adhesive. Carefully align the blades to ensure seamless joins.
Adding Infill
The final step in your DIY installation is adding infill material. This helps weigh down the grass and keeps the blades standing upright. Common infill materials include silica sand or rubber granules. Use a drop spreader to evenly distribute the infill across the surface.
After spreading the infill, brush the grass with a stiff broom to help it settle between the blades. This will not only improve the appearance but also enhance the durability of your artificial grass installation.
Maintaining Your Artificial Grass
Once installed, artificial grass requires minimal maintenance. Regularly remove any debris and rinse with water to keep it clean. Brushing occasionally will help maintain its upright position and keep it looking fresh.
If you have pets, clean up any waste promptly and rinse the area with water to prevent odors. With these simple steps, you can enjoy a beautiful, low-maintenance lawn that enhances your outdoor space in Auckland.